Getting started on web application with a Postgres database on Heroku
Introduction to using Heroku PostgreSQL with Heroku CLI
Heroku has three managed data services that can handle the database on your application. These are Heroku Postgres, Heroku Redis and Apache Kafka on Heroku. These services have a price range that varies from free to paid, depending on which pricing options you choose.
In this article, we are going to go through step by step, how to deploy a web application and then attach a PostgreSQL database to it.
First, let us understand what is Heroku, what is PostgreSQL, and how these two can work together to make your application database smooth, efficient, and easy to work with.
So...
PermalinkWhat is Heroku?
Heroku is a platform as a service (When you purchase/rent resources from cloud providers,use them over the internet, and pay according to how much you use) company that provides developers with a faster and efficient way to create, deploy, scale, and manages applications in the cloud. Heroku supports multiple languages such as Ruby, Python, Scala, Node.js, PHP, Go, Java, and Clojure. To make PaaS even better, Heroku follows three principles...
Developer Centric. This is, Heroku keeps developers at its center. It is made by developers, for developers
App Centric. It focuses on ways to get the application in front of the user, faster and hassle-free.
Production Centric. Heroku focuses on every step of the application life-cycle, from build to deployment, and scaling. It ensures that every step in between is easy and efficient.
Cool, right?
PermalinkAnd, PostgreSQL?
Well, also known as Postgres, this is a powerful open-source object-relational management system. It is best-known for its commitment to data integrity, reliability, and extensibility. It uses an extent of SQL language and many other powerful features to store and work with complicated workloads.
PermalinkWhat is Heroku Postgres?
Heroku Postgres is a fully managed database backend service for developers. It provides nine cool features and tools, all of them being forks, followers, dataclips, trusted data integration, continuous protection, straightforward rollbacks, automated health checks, high availability, security compliance, data encryption, and Heroku Postgress via mutual LTS. You can find more information about these tools here
PermalinkPrerequistes
Heroku account. You can sign up here
Heroku CLI. You can download it here
Git. You can download it here.
Github account. You can sign up here.
And and a web application on your local repository you wish to deploy to Heroku. I will be using a java web app for this demonstration.
I will be using Ubuntu 18.04 LTS as my operating system.
Ok. Ready?
PermalinkStep 1: First off, login into Heroku with your login credentials.
$ heroku login -i
PermalinkStep 2: cd into the local repository of your choice. The repository must contain your web application.
$ cd /Downloads/sampleapp/
PermalinkStep 3: Install the necessary dependencies for the app
Because I am running a java app, I will run...
$ mvn clean install
PermalinkStep 4: Test the web application locally.
You can test the application locally on Heroku with
$ heroku local web
PermalinkStep 5: Create your application on Heroku
$ heroku create
PermalinkStep 6: Push our app to Heroku
$ git push heroku master
If that does not work out for you, try..
$ git push heroku main
PermalinkStep 7: Get detailed information about your deployment
$ heroku pg:info
PermalinkStep 8: Create a Postgres database for your app
$ heroku addons:create postgres
PermalinkStep 9: Go to Heroku dashboard to view your database credentials
$ heroku open
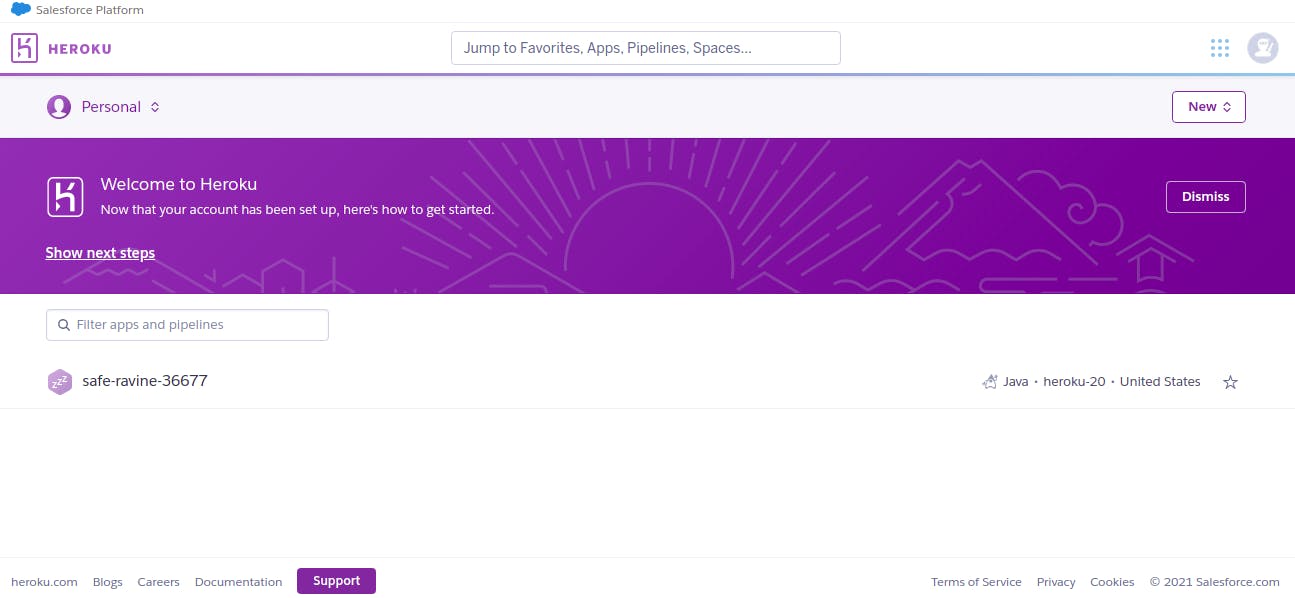
This is the Heroku dashboard. Click on the name of your application
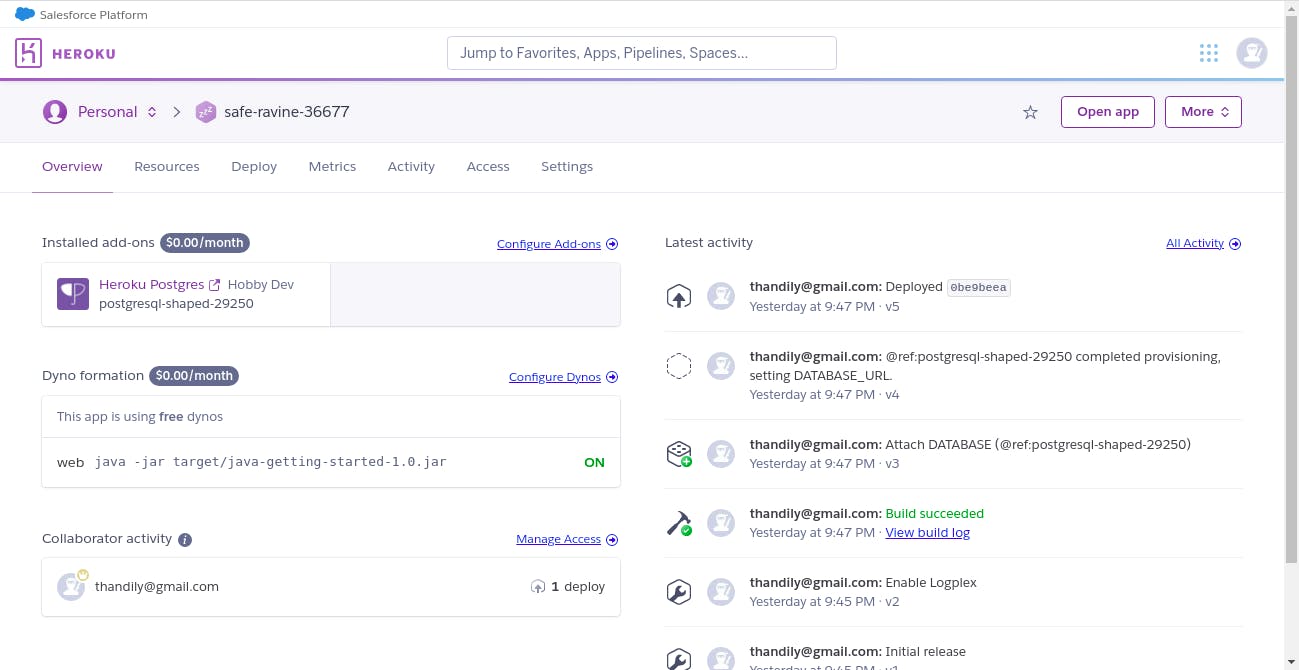
Click on the Heroku Postgres addon that you just created
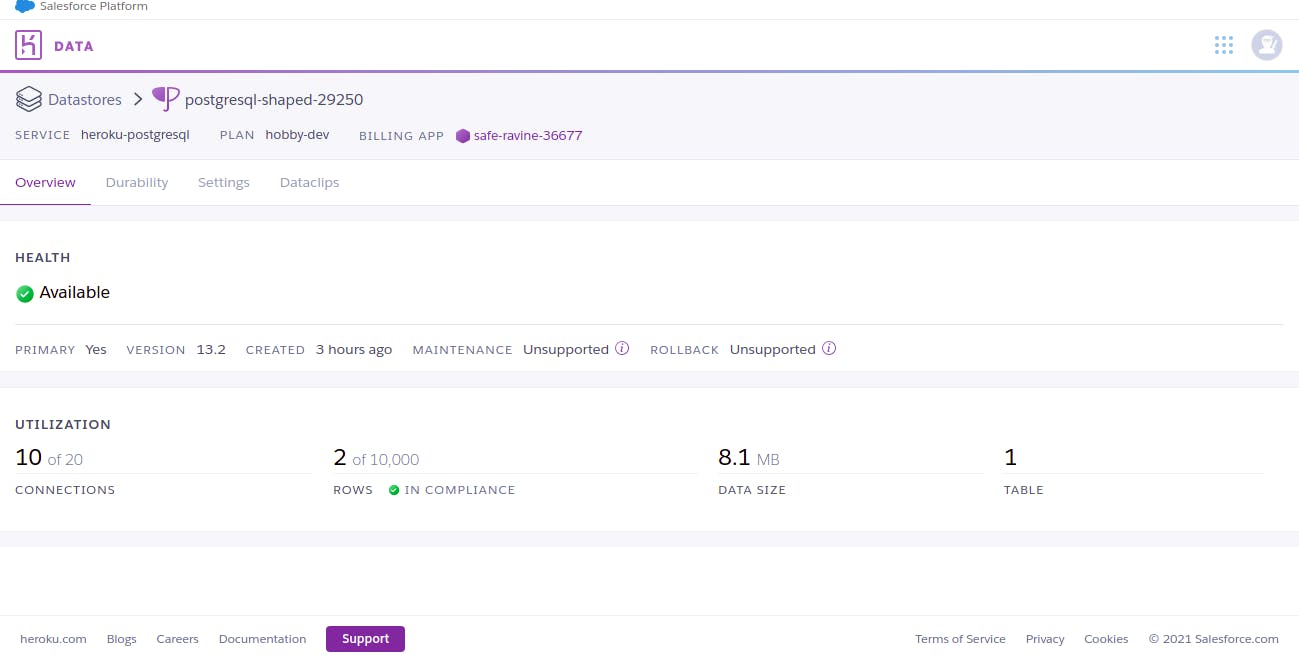
Go to settings
Click on view credentials button
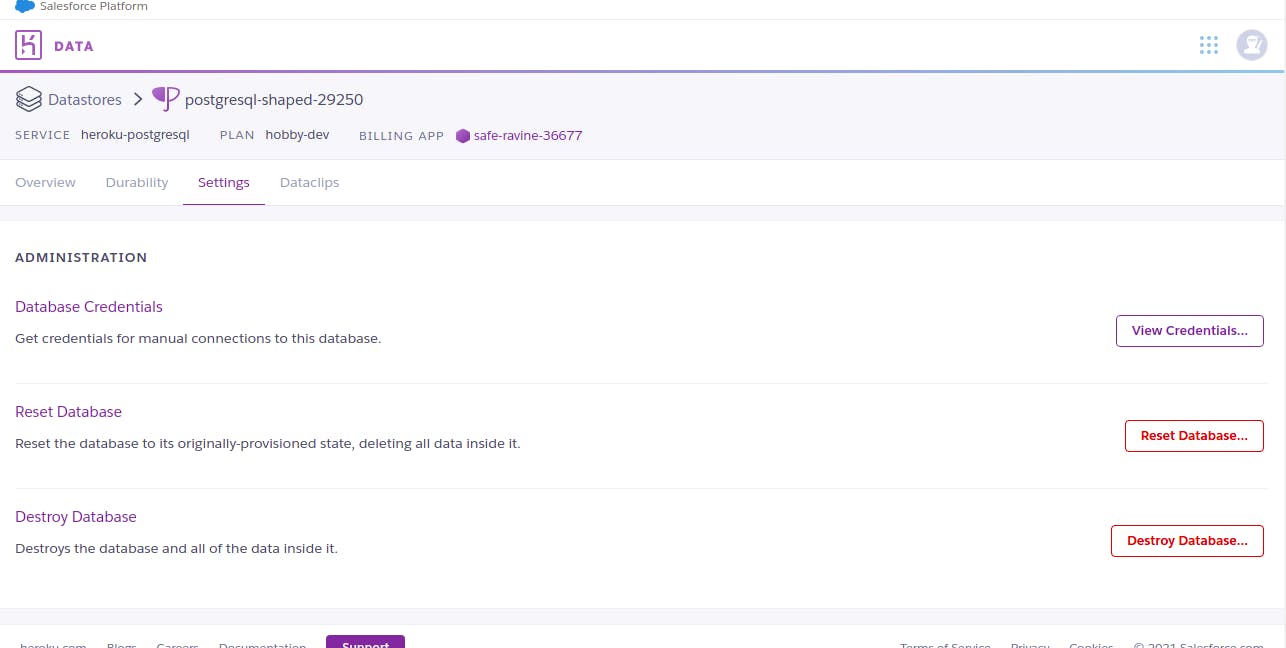
View your database credentials
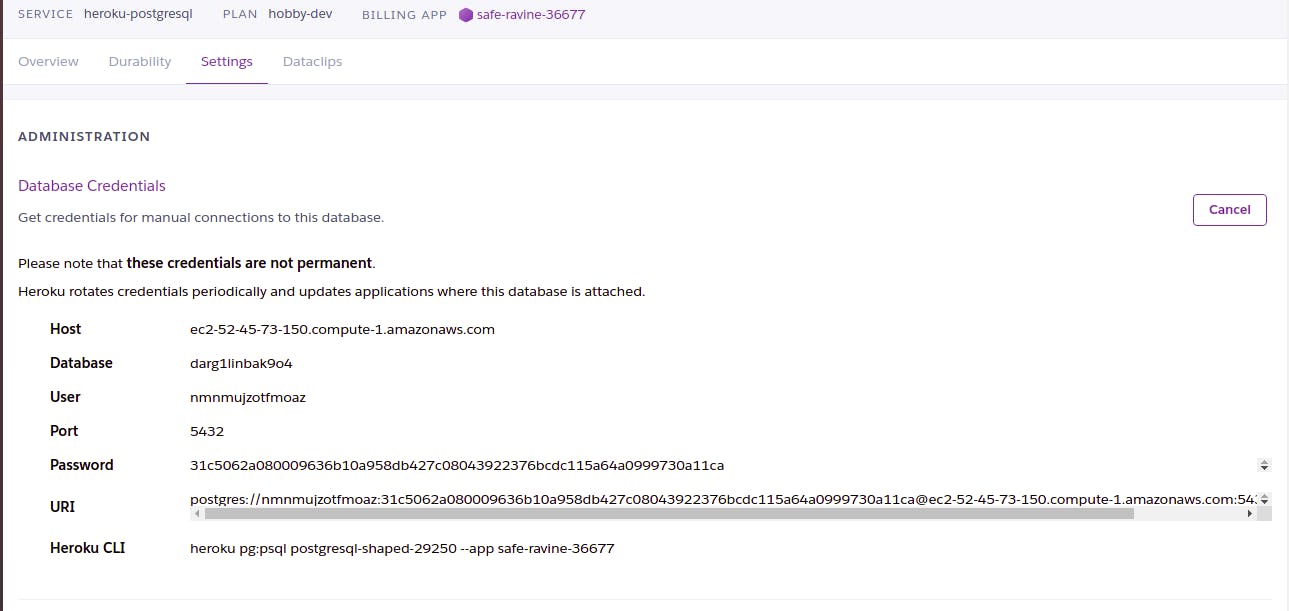
You can use these credits to login onto your local PostgreSQL to connect your local database and your Heroku database.
PermalinkStep 9: Write your SQL queries using Heroku CLI
$ heroku pg:psql
PermalinkStep 10: When you are done querying, exit the psql platform
$ \q
To learn more about the Heroku platform, you can experiment more with the free resources. learn more on this link. To learn more about PostgreSQL, click this link. And if you are curious about Heroku Postgres, do not worry here is a full Heroku Postgres documentation.
